


How to Install
How to install a post cap or beam cap:
All you’ll need, is an exterior grade construction adhesive. For added security, you may choose to apply silicone sealant to the top edge of the beam cap where it meets the fascia.
Note: If you plan on painting, staining, or restoring the beam or post, do so before installing caps. Wear gloves to avoid fingerprints and to keep the adhesive off your skin.
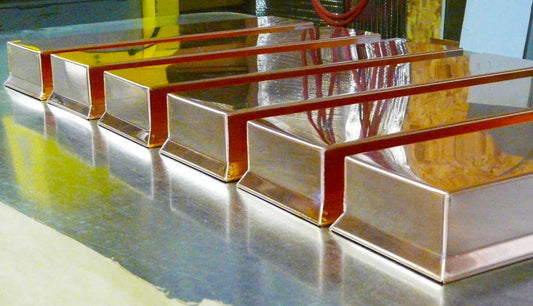
1) This step is only for beams. You’ll need to measure the length of the beam (distance from house) and trim the cap if necessary. Length measurements may vary by beam, so it's best to check, before installation. If you need help with the trimming process take a look at our “How To Trim Beam Caps” guide.
2) It's best to begin with a flat post top/beam face. Sand if necessary to expose a sound surface. Remove dirt, oil, moisture, and/or old adhesive.
3) Apply your construction adhesive, like Liquid Nails, in each corner of the cap. This is for all beam caps and posts that are at resting level. If you are installing the beam cap on a pitched beam greater than 6/12, you may need to add additional adhesive, nails or screw the sides. Another option is to tie a construction string around the beam to hold the cap on until the adhesive sets.
Optional step: Apply silicone sealant along the top edge of the cap to ensure a waterproof, secure install.
That’s it! You’ve installed your beam or post cap! We recommend reading all instructions with your adhesive or silicone sealant if you're new to using these products.
For additional help, please contact us. We will gladly help you with your installation questions. We thank you for taking the time to visit our “How To” guide.